
Everything You’ll Need
| Tool / Material | Solid Hardwood (Nail-Down) | Engineered Hardwood (Glue-Down) | Engineered Hardwood (Floating/Click-Lock) | Purpose | |||||||||||||||||
|---|---|---|---|---|---|---|---|---|---|---|---|---|---|---|---|---|---|---|---|---|---|
| Tape Measure | ✔ | ✔ | ✔ | Measure layout and planks | |||||||||||||||||
| Chalk Line | ✔ | ✔ | ✔ | Mark layout lines | |||||||||||||||||
| Pry Bar | ✔ | ✔ | ✔ | Remove old flooring/baseboards | |||||||||||||||||
| Moisture Meter | ✔ | ✔ | ✔ | Check subfloor moisture | |||||||||||||||||
| Level | ✔ | ✔ | ✔ | Ensure even subfloor | |||||||||||||||||
| Spacers | Optional | ✔ | ✔ | Maintain expansion gap at walls | |||||||||||||||||
| Flooring Nailer / Stapler | ✔ | ✘ | ✘ | Secure solid planks to subfloor | |||||||||||||||||
| Flooring Adhesive | ✘ | ✔ | ✘ | Glue engineered wood to subfloor | |||||||||||||||||
| Trowel (for adhesive) | ✘ | ✔ | ✘ | Spread adhesive evenly | |||||||||||||||||
| Click-Lock Installation Kit | ✘ | ✘ | ✔ | Includes tapping block, pull bar, spacers | |||||||||||||||||
| Miter Saw | ✔ | ✔ | ✔ | Make crosscuts on planks | |||||||||||||||||
| Jigsaw / Oscillating Tool | ✔ | ✔ | ✔ | Trim around obstacles | |||||||||||||||||
| Safety Glasses | ✔ | ✔ | ✔ | Eye protection while cutting | |||||||||||||||||
| Knee Pads | <td


| Feature | DIY Installation | Professional Installation |
|---|---|---|
| Average Cost per Sq Ft | $3 – $8 (materials + tools) | $7 – $18 (includes labor) |
| Best For | Budget-conscious, handy homeowners | Busy homeowners, large or complex jobs |
| Time Commitment | Several days or weekends | 1–2 days (typical) |
| Risk of Mistakes | Moderate to high | Low |
| Tool Investment Required | ✔ | ❌ (provided by installer) |
| Satisfaction | High (if done well) | High (with professional finish) |
👉 For a complete guide on costs and methods, visit our Hardwood Flooring Cost Guide
Do You Need Professional Help With Your Hardwood Flooring Installation Project?
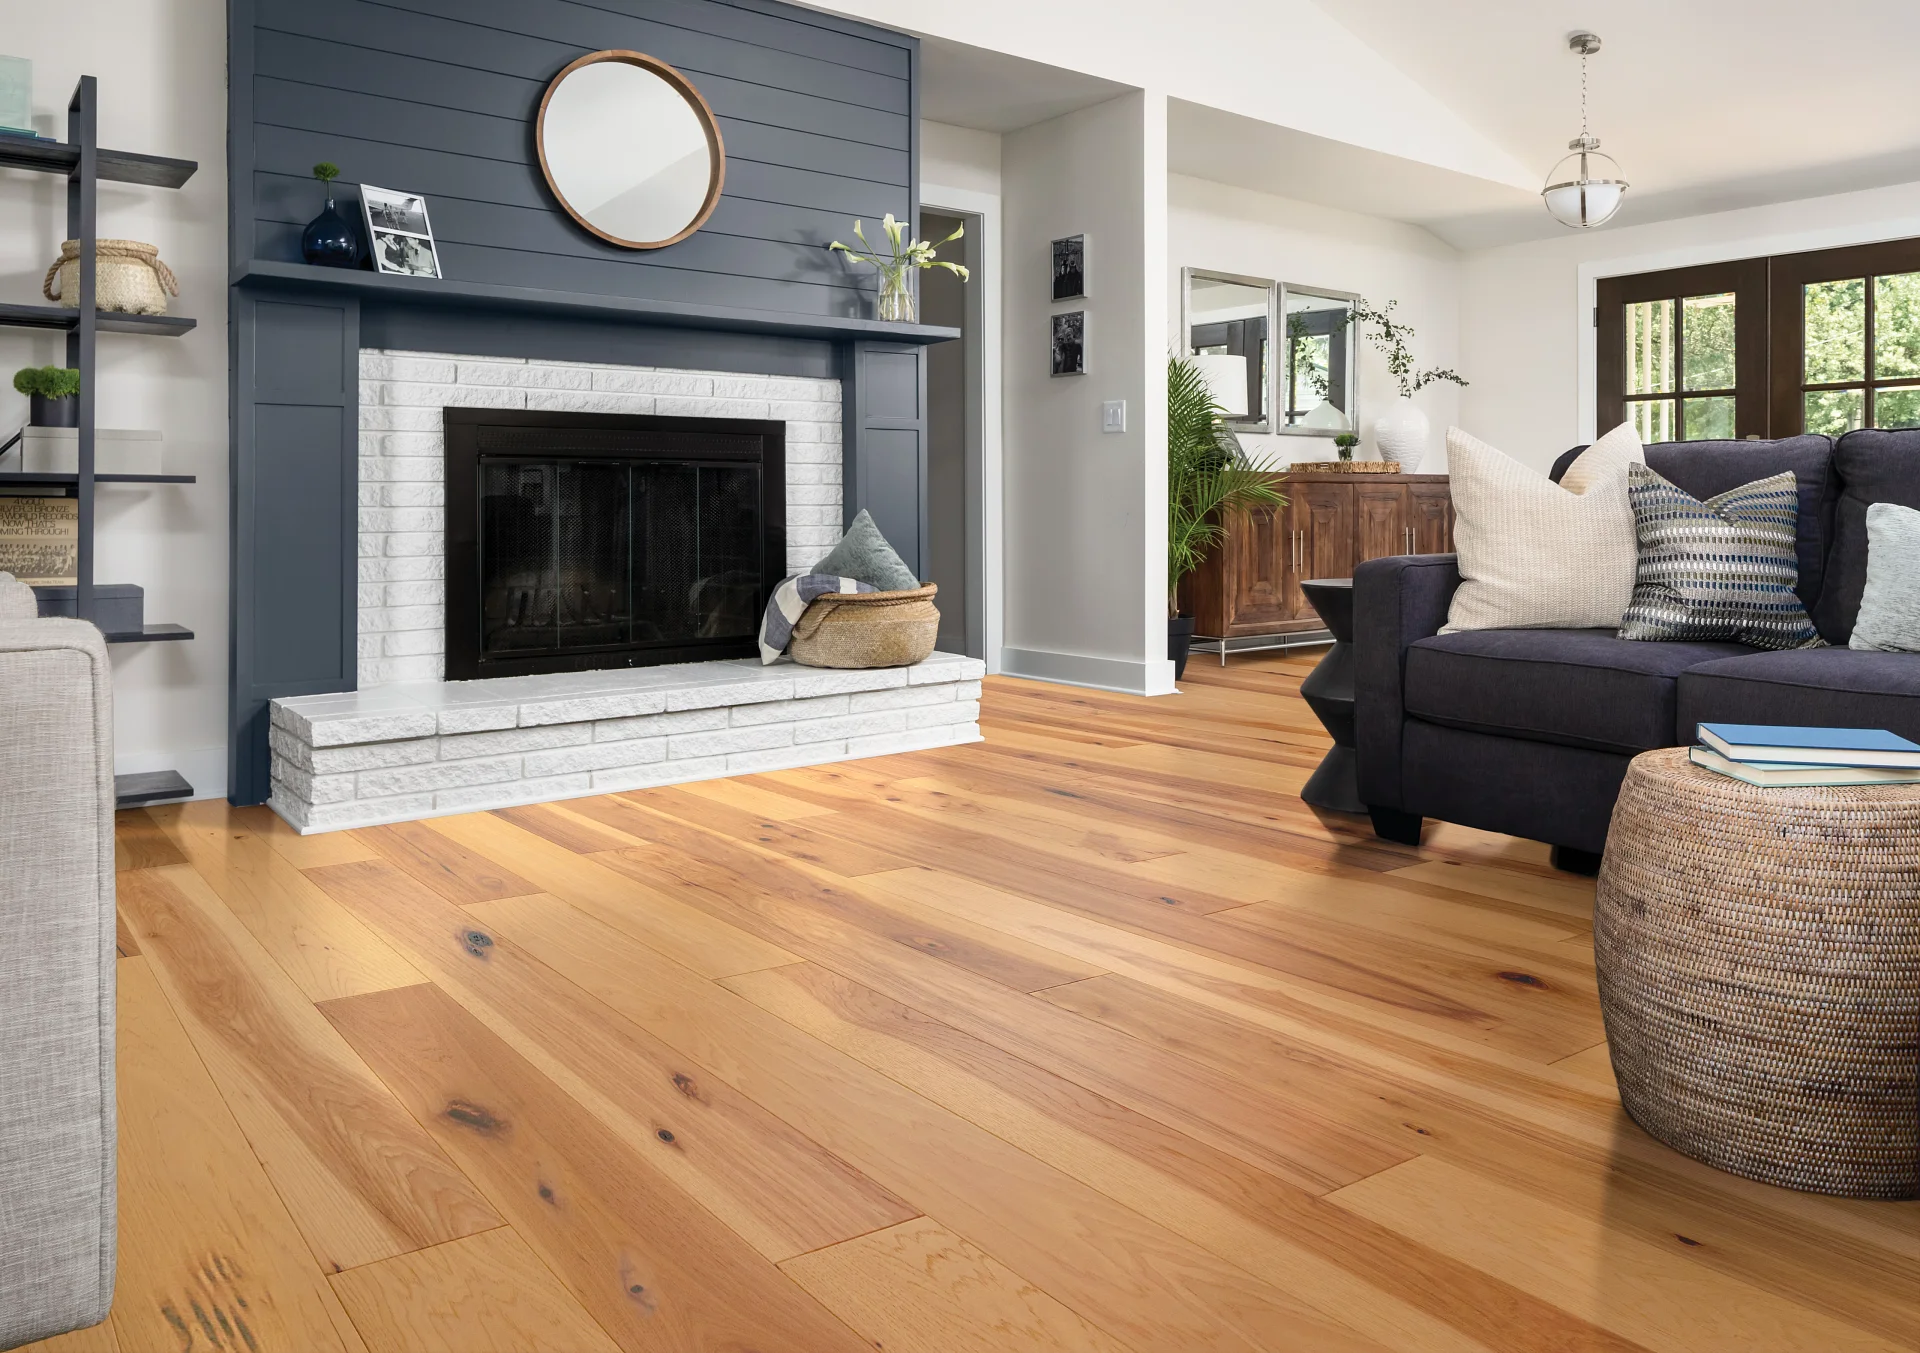
Now that you know how to install hardwood flooring step-by-step, you’re ready to create a warm and classic look that adds value to your home. If you’d like to avoid the hard work — from exact cuts to preparing the subfloor — we’re here to assist.
Our skilled flooring installation team takes care of every detail with precision, whether it involves nail-down, glue-down, or floating hardwood. We ensure your floor is even, secure, and durable — all without you lifting a finger.
Contact us today to arrange your free in-home consultation and check if we serve your area!


Request a consultation
Meet with one of our skilled project specialists to get started
Featured Brands & Technologies


494 Shirley St, Winthrop, MA 02152 | (781) 818-0256
Company
Products
Get In Touch
Verified I will hire him again, again and again. He and his team are exactly what I wanted. ONTIME, ON BUDGET, EVERYONE RAVING ABOUT THE OUTCOME. The team was very knowledgeable about the coating types and applications. He also reflects well on the Thumbtack services.Verified Did great work, very easy to work with would recommend to anyone that’s looking for great work, quick work and punctuality.Verified Manny’s crew did an awesome job bringing my old tired maple floors back to life. He came out on a separate visit to show me stain colors , agreed to do my stairs at the last minute at a very reasonable cost, was responsive to my questions , gave me a great price and best of all the floors look brand new. Would highly recommendVerified Dubon Flooring was by far the best estimate that I got for refinishing my upstairs floors. The estimate was fast, the work was done quickly and neatly. They patched some holes in the floor from the removed radiators very well. The floors look great!Verified Manny and his team were amazing to work with.Verified Manny and his team were phenomenal to work with. Great communication up front and throughout and the work was done with quality and precisely in the timeframe estimated.Verified Dubon flooring did an amazing job refinishing our hardwood floor in our new home. They did it efficiently and in the time frame we needed. Great value and work. Would definitely recommended! Thanks guys!Verified Manuel was as excellent as his reviews indicated. He gave me a no-nonsense quote that was far and away the most reasonable of the ones I received. His people showed up on time and did the work on schedule. The quality of the work was excellent and when I asked him to come back to fix a small issue in a closet, he was more than happy to do so. I would gladly recommend Dubon Flooring to anyone and would use him again for my next project.Verified Manny left my house with beautifully finished floors and only minimal signs of dust. He kept me informed of the progress. I’d suggest him to anyone.Verified Our floors were really beat up and now they look great!
Dubon Flooring
494 Shirley St, Winthrop, MA 02152
(781) 818-0256